You cannot see wind. You can see what it does — a hedge shivering, a flag cracking, a wheelie bin setting off down the road — but judging whether that gust was 20 mph or 40 mph from the kitchen window is guesswork. The good news is that putting a rough number on it costs almost nothing. A few paper cups, a couple of sticks and a copy of the Beaufort scale will get you further than you might expect.
What follows is a homemade cup anemometer you can assemble in an afternoon, plus the older method of reading wind from the world around you. Neither will match a calibrated instrument, but both will make you noticeably better at judging what the sky is doing.
Why Bother Measuring Wind
Most people only think about wind when it spoils something. Whether you can hang washing out, whether the bees will be flying, whether it is safe to take a drone up or put a ladder against the gable end — all of it depends on a number most of us never bother to find. Gardeners learn the hard way that spraying anything on a breezy day is a waste of time and a good way to paint the neighbour's car.
There is a second reason, and it is the one that surprises people. Once you have felt what 25 mph does to an umbrella, an official forecast of "gusts of 45 mph" stops being an abstraction. You start to picture it. That alone makes you better at planning your day.
Build a Cup Anemometer in an Afternoon
The cup anemometer has been the standard way of measuring wind since the nineteenth century, and the principle is simple: the wind pushes the open side of a cup harder than the rounded back, so the cross spins. Count the revolutions and you have a measure of speed.
What you'll need
- Four identical paper or light plastic cups — small ones work best, and they must match in weight
- Two straight sticks or bamboo skewers of equal length, roughly 30 cm each
- A wooden pencil with a rubber on the end, or a short length of dowel
- A drawing pin, or a thin bolt with a nut and two washers
- Tape, scissors and a marker pen
- A bottle, plant pot or lump of modelling clay to act as a base
Putting it together
- Draw a bold stripe on one cup with the marker. That is your index cup, and every reading depends on it.
- Tape two cups to the ends of one stick, and two to the ends of the other. All four openings should face the same way around the circle — clockwise or anticlockwise, it does not matter, as long as they match. This is the part people get wrong, and it is the difference between a spinning anemometer and a useless ornament.
- Cross the sticks at their centres so they form a neat X, and bind them firmly with tape or string.
- Push the drawing pin through the middle of the cross and into the rubber on the pencil. The cross should spin freely but not wobble. If it binds, widen the hole slightly.
- Stand the pencil upright in your base. The cross needs to sit horizontally, clear of whatever is holding it up.
Counting and calibrating
Hold the anemometer up at about two metres, well away from walls, fences and trees, and count how many times the striped cup passes a fixed reference point — a fence post, your thumb — in sixty seconds. Do it three times and take the average. Anything less than a minute of counting tends to be noisy.
Here is the honest part: your anemometer has no built-in scale. Friction, cup weight and a slightly bent stick all affect it, so revolutions per minute do not translate directly into miles per hour. You have two ways round that.
- Calibrate against an official reading. Met Office and airport stations publish regular observations. On a steady, breezy day, take your count at the same time as the published figure, then divide the official speed by your revolutions per minute to get a conversion factor. Repeat on several days and average the results.
- Calibrate against the Beaufort scale. Compare your count with the land signs described below at the same moment, and build your own table. It is rough, but it is yours and it is repeatable.
Expect accuracy of a few mph at best. For tracking whether today is windier than yesterday, that is plenty. Do bring it indoors before a proper gale, or you will be picking cups out of the flowerbed.
Read the Wind with the Beaufort Scale
In the early nineteenth century the naval officer Francis Beaufort drew up a scale that linked wind speed to what the wind was doing to ships and sails. The land version is just as useful, and it needs no equipment at all.
- 0 — Calm (under 1 mph): smoke rises vertically.
- 1 — Light air (1–3 mph): smoke drifts, but weather vanes do not move.
- 2 — Light breeze (4–7 mph): leaves rustle and you feel wind on your face.
- 3 — Gentle breeze (8–12 mph): leaves and small twigs move constantly; light flags extend.
- 4 — Moderate breeze (13–18 mph): dust and loose paper lift; small branches move.
- 5 — Fresh breeze (19–24 mph): small leafy trees begin to sway.
- 6 — Strong breeze (25–31 mph): large branches move, umbrellas become hard work, wires whistle.
- 7 — Near gale (32–38 mph): whole trees in motion; walking into it is a struggle.
- 8 — Gale (39–46 mph): twigs break off trees and walking is difficult.
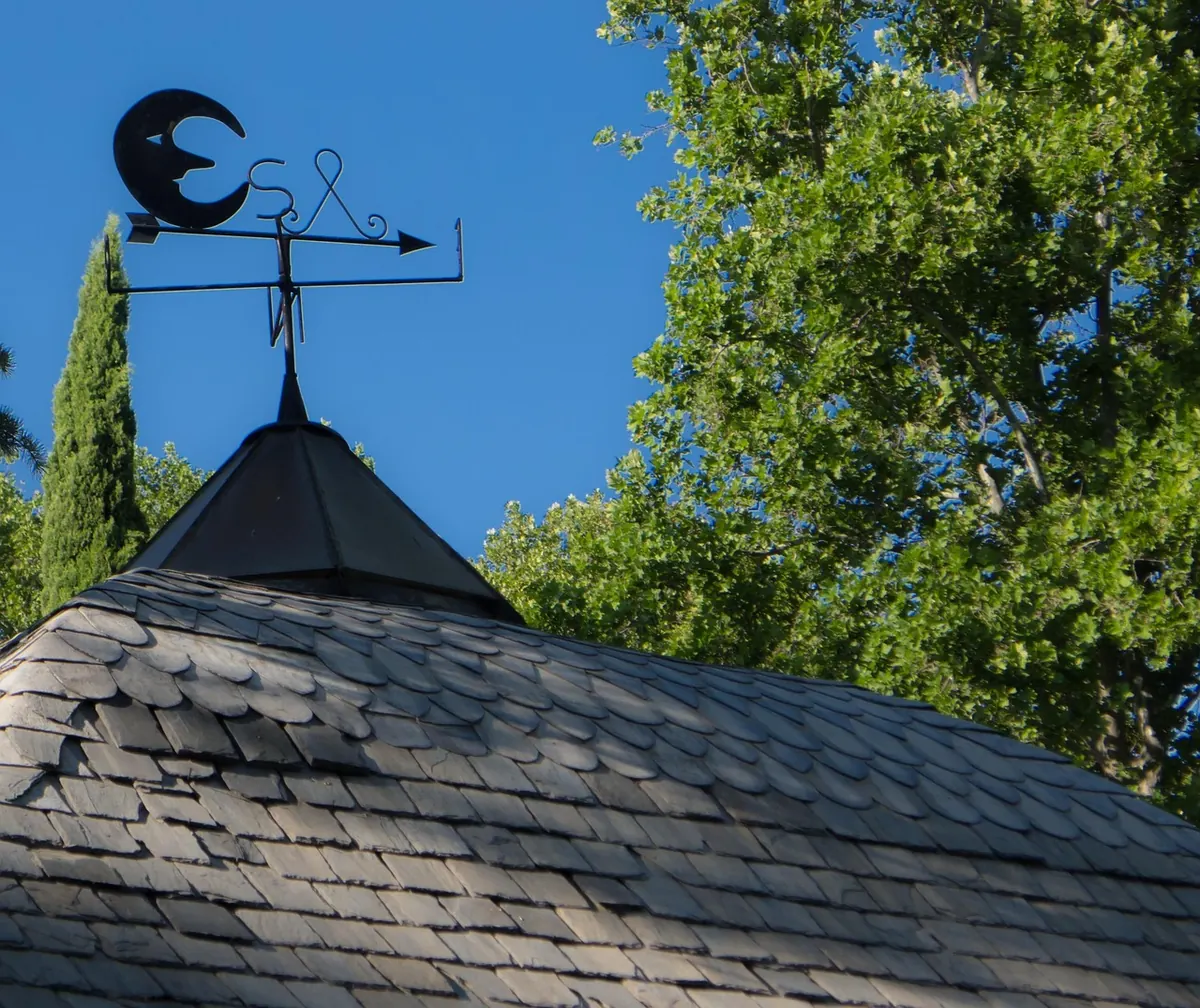
- 9 — Severe gale (47–54 mph): slates and chimney pots dislodged.
- 10 — Storm (55–63 mph): trees uprooted, considerable structural damage.
- 11–12 — Violent storm to hurricane (64 mph and above): widespread damage. Stay indoors and watch from the window.
Learn the first five properly and you will rarely be far out. The trick is to look at something that responds consistently — a particular tree, a flag, chimney smoke — rather than glancing around at random.
Three More Low-Tech Options
- A windsock. Sew a tapering tube from an old sheet or a cut-down sleeve, attach it to a pole with a swivel, and watch the angle. Hanging limp means calm; horizontal means a strong blow. You can mark your own scale on the pole once you have compared it with a few forecasts.
- A ribbon on a pole. Even simpler, and surprisingly informative. A light ribbon at right angles to the pole means it is blowing hard; a gentle droop means a light breeze.
- A ping-pong ball on a thread. Tape the thread to a protractor and hold it into the wind. The angle the ball lifts to gives a repeatable relative measure, and it costs nothing.
Getting Readings You Can Actually Use
Two people with identical anemometers can get very different numbers simply because of where they stand. A few habits will keep your records meaningful.
- Pick one spot and stick to it. A gap between buildings can funnel wind and add several mph to a reading.
- Keep the instrument at the same height every time — roughly two metres is a sensible, repeatable choice.
- Average over a minute rather than trusting a single gust. Wind arrives in lumps, and one reading tells you very little.
- Note the direction too, using a compass or a landmark, since a southerly and a northerly of the same speed feel completely different in your garden.
- Write it down. Date, time, direction, average and anything notable. A notebook or a simple spreadsheet turns scattered observations into something you can compare across months.
Start This Week
Build the anemometer on a wet afternoon, then take it out on the next breezy day and spend five minutes counting. While you are out there, note what the trees and flags are doing and match it to the Beaufort scale. Do that a handful of times and you will find you can step outside, look at the hedge, and call the wind to within a few miles per hour without reaching for anything at all. That is the real skill — the cups just help you learn it.
Photo: Carlos_Bonilla_Miranda / Pixabay